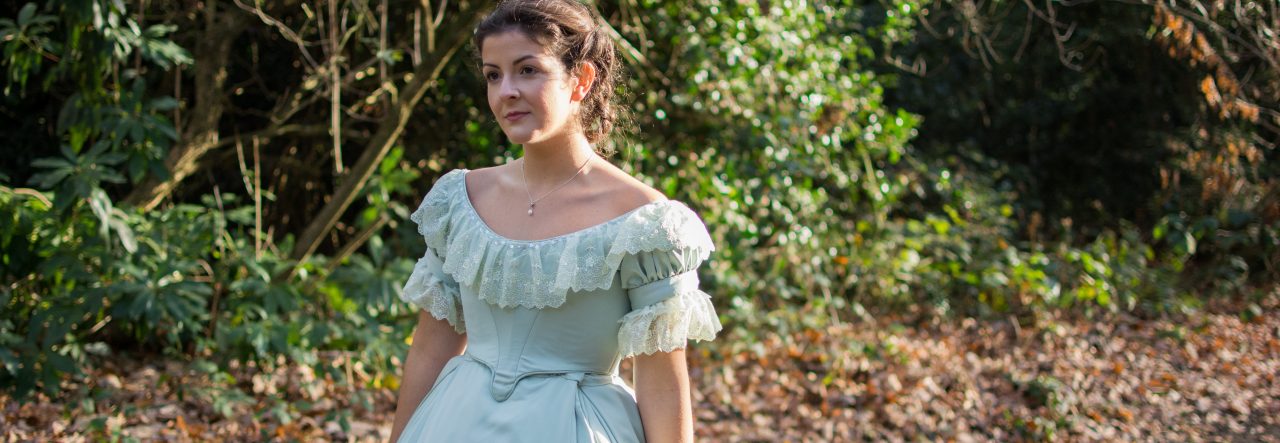

Before the summer, I came across this photo of an 1871’s evening gown held at the Fashion Museum at Bath:

I’m not sure what about it made me go ‘oh my god’ but I did. And in the summer, I found some very cheap though enchanting light blue fabric that I bought with the intention of using it for this dress. I am sort of disappointed now, because it’s a very light and soft sort of fabric and I wish I’d bought something more lavender and taffeta/silk-ish for this project. Nevertheless, everything seemed to be prepared.
With every historical project, the trick is to start from the inside out. This dress is dated 1871 which means it falls into the Early Bustle period, where the Victorian skirt widths were pushed backwards into a rather generous backside. However, those skirt support cages seemed so complicated so I made a weak attempt with manipulating my existing bum rolls and sorts.
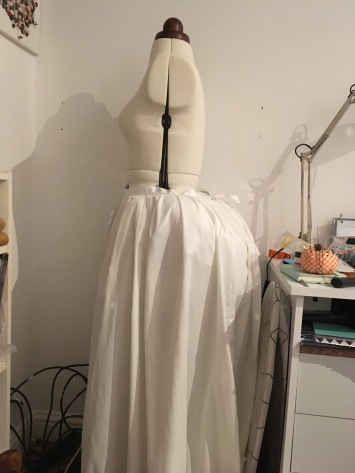
As you can see, it keeps the 18th century shape so I went ahead and bought a pattern by Truly Victorian TV108 – Grand Bustle. It worked really well and I’m very happy with the shape! I paired it with a petticoat made from another pattern by Truly Victorian and my existing Victorian corset, pattern by Redthreaded.


Before and after the petticoat! So after the foundations were sorted, it was time to move onto the dress. I wanted to keep it quite close to the original garment, so I tried to mimic the seams locations.I draped the pattern on my dressform and then transferred it to paper. It need quite a few alterations as the seams were at a few awkward places and I still have a lot to learn about fit. Nevertheless, I made two mock-ups and I was happy enough to go forward.
I cut the fabric out of something similar to cotton twill and then from the fabric. I had to interface both of these layers because they were too soft to make a stiff bodice (this goes back to the poor fabric decision). I used the lining twill to cut out the outer fabric so that it made sure they were about the same size (plus it already had seam allowances).


Then I flatlined all the pieces together and assembled them with 1/2” seam allowance. I did a quick fitting and though I noticed that the shoulders, armhole and back were a bit off, I thought it would sort itself out once I’d turned all the edges inwards by the seam allowance.

I regret not trying to fix it properly at this stage. Maybe if I had, the bodice would fit a lot better by the end. Nevertheless, I went ahead and pressed all seams and sewed them down to create some boning channels.

I used zip/cable ties for boning, since the bodice is meant to be worn over a corset already. I boned all the channels and then turned the upper, side and lowers edges inwards by 1/2” inch. I also turned the back edges inwards by half an inch twice and sewed it down to form a boning channel. However, because I hadn’t added seam allowances to the back, this was too small. I had expected that this would make it fit well for a lace-up back but it was far too small. I ended up altering these later to give the bodice a bit more room in the back (unfortunately not enough, it still has an ugly gap). At this point, I also sewed on the eyelets. It was far too early for them so this was a mistake! As I had to resew the back boning channels, it meant that the eyelets are now too far away from the edge and they look so awkward.

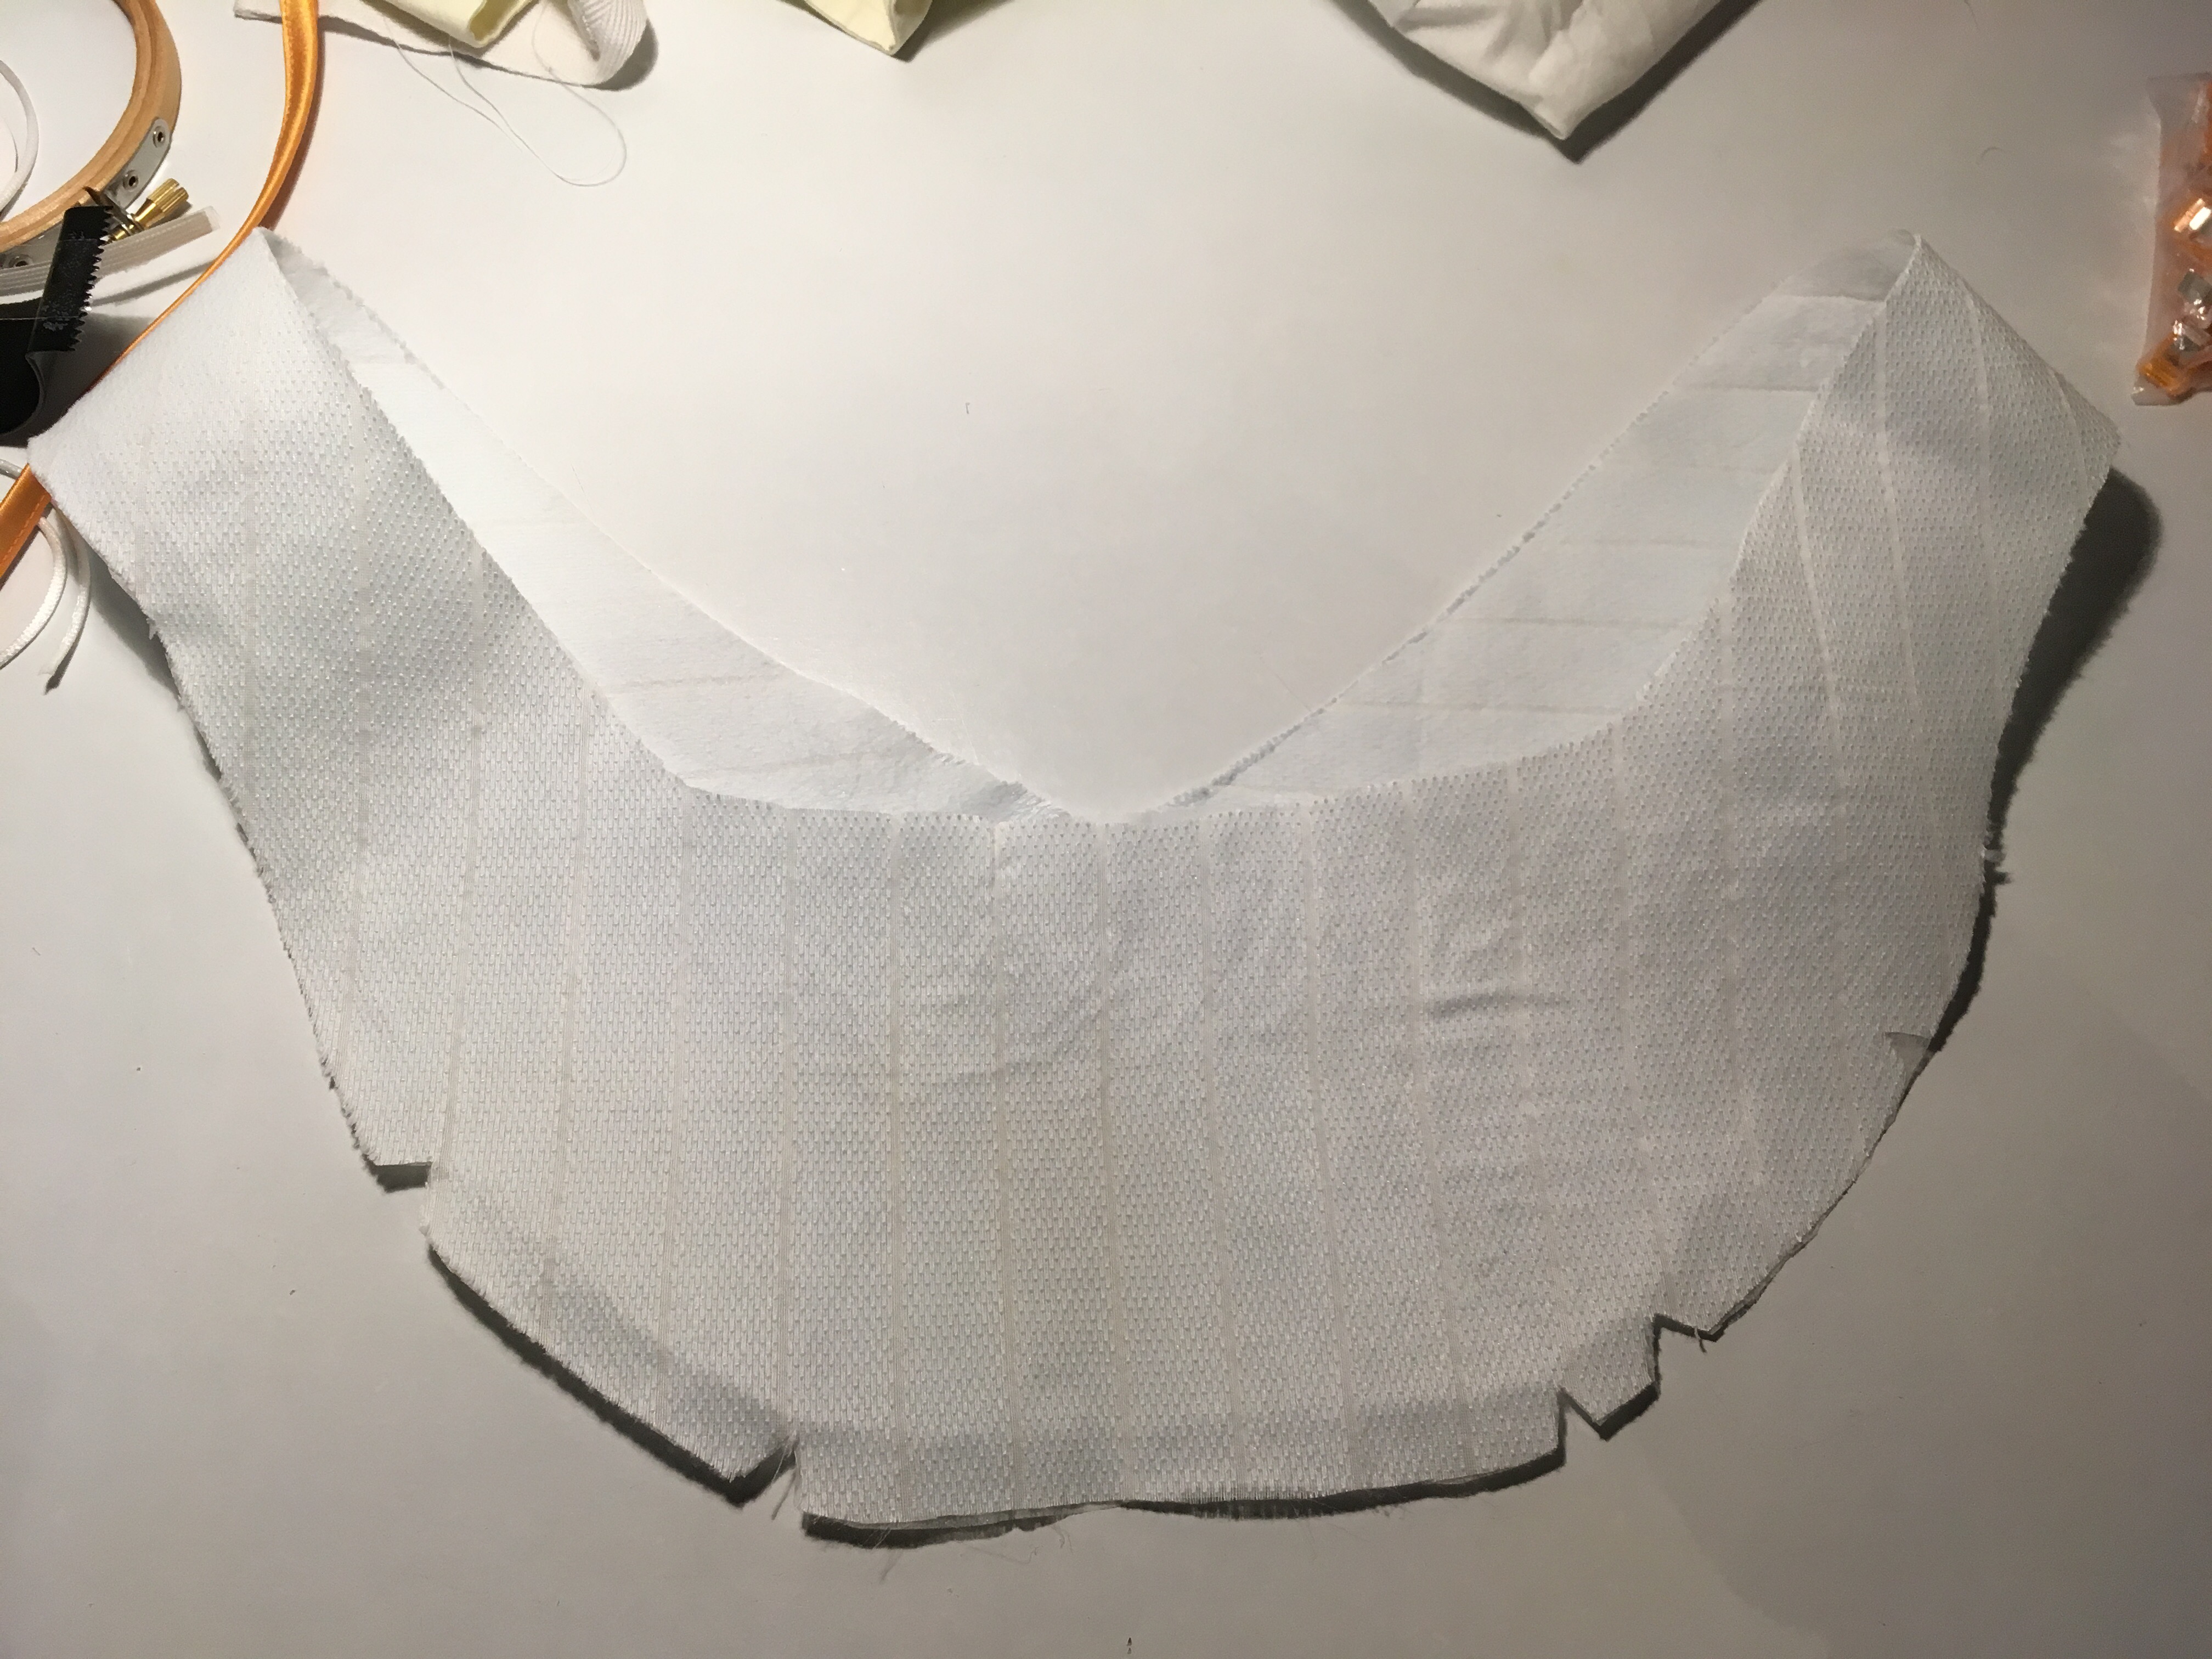
Then I decided to move onto the collar. The original dress has what looks like gathered tulle in the collar. I’m sad I didn’t have the reference photo next to me while I figured out the collar because I’m unhappy with some decisions. I draped it by pinning some left over fabric to the existing bodice and then drawing the shape. I accidentally made it deeper in the front and wider in the shoulders than it should be.

Then I cut it out of the actual fabric as a base for the gathered material.I made some notches and started turning edges inwards when I realised this would leave the gathered material’s edges raw, so I decided to bind it with bias tape instead.
Instead of tulle, I decided to gather some lace. Because I love lace. As I made the collar/bertha very deep in the front, the lace wasn’t wide enough to cover it. I thought it would look fine when I bound the edges, but the gap really bothers me now. A lot. So I think I may embellish over it later to try and make it more pleasing.

So then it was time to make some bias tape! I wanted it to match the fabric, so I decided to make it. This was the first time I made bias tape, so I looked at a few different tutorials online and went ahead. My first step was to cut 2” wide strips of my fabric at a specific angle, which involved some folding. This was very easy with my clear quilting ruler.

Then I had to pin all the strips together and sew them, also at an angle.

This meant I now had one long strip. I took it to my ironing board and ironed the edges so that they met in the middle, which left me with 1” wide bias tape. I pinned it to the bertha so that it wrapped around and then hand-sewed it to hide stitches.

Then I sewed on a piece of ribbon which you can see in the inspiration dress. This ribbon hid the gathering stitches on the lace! It was the closest I could find in colour to my fabric. This fabric is a very pale blue, that looks mostly white in photos (though it isn’t!). It also looks sparkly in some lights, so it’s obviously some sort of mythical creation that has come to bless my days. Later, I found some other ribbon with a smoother colour that I liked better, so I replaced it. The original dress has fringe trim around the edges of the collar, but I couldn’t find any to buy that didn’t remind me of curtains. So instead I decided to go with gathered lace (because I LOVE LACE). This is a very pretty wide lace I bought in Portugal last time I was home and I’m very happy with how it looks.

It’s lace, so of course it was. I was having some trouble calculating how much I would need to add to the overskirt, as that had fringe trim as well that I would be replacing with this lace. Since I hadn’t made the overskirt yet, I couldn’t calculate properly. I was afraid of running out of lace, so I decided to gather it by hand so that I could control how much gathering went on. I was trying to gather it very lightly, so it came to about x 1.5.

Just had to pin it on and hand sew it. I’m not a fan of visible top-stitching, so I try to keep the most noticeable bits hidden. Which means a lot of hand sewing, but I enjoy it! (Plus I sort of binge watched all of Dowton Abbey while making this dress).
Then I sewed on the bertha with some slip stitches. I realised I should have sewn it on before I hand sewed the eyelets (BIG sigh), so the back looks a mess. Imma try to attach some snaps so that it can sit properly on the bodice. During this process, I had also decided not to line the bodice. I hadn’t planned on it, hadn’t thought it would be necessary, but with the seam allowance boning channels, they were fraying so much that the insides were really messy. So I took my lace tape and hand-sewed it over every turned edge of the inside of the bodice. I’ve ran out of lace tape and it is impossible to find in the UK, so until I find a solution, there will be no photo of the inside of the bodice!
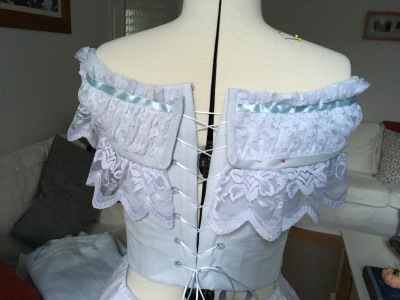

And that is it for the bodice! I only have some inside tidying to do. The next post will be about the skirt and the overskirt (and maybe the sleeves!).

